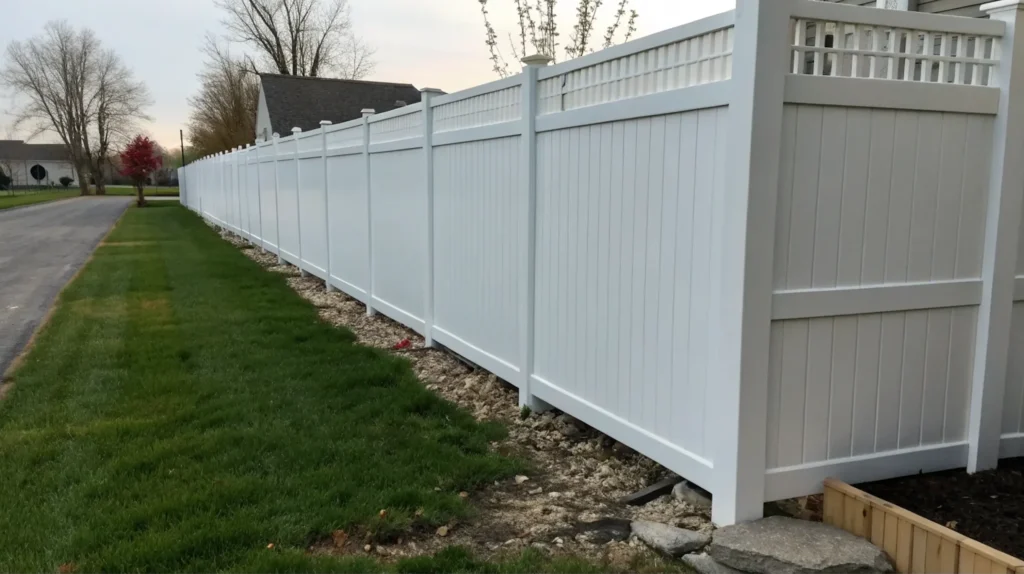
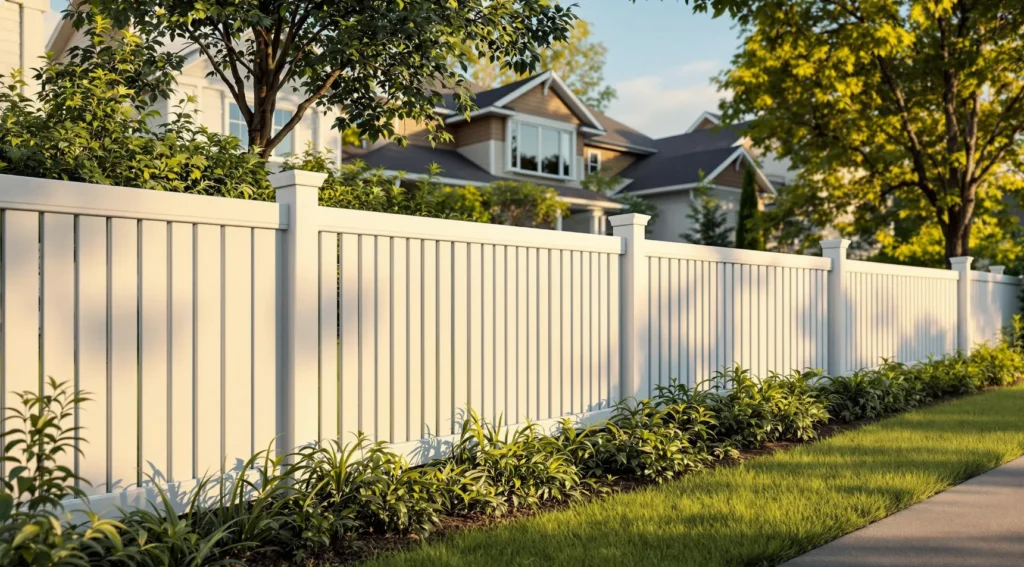
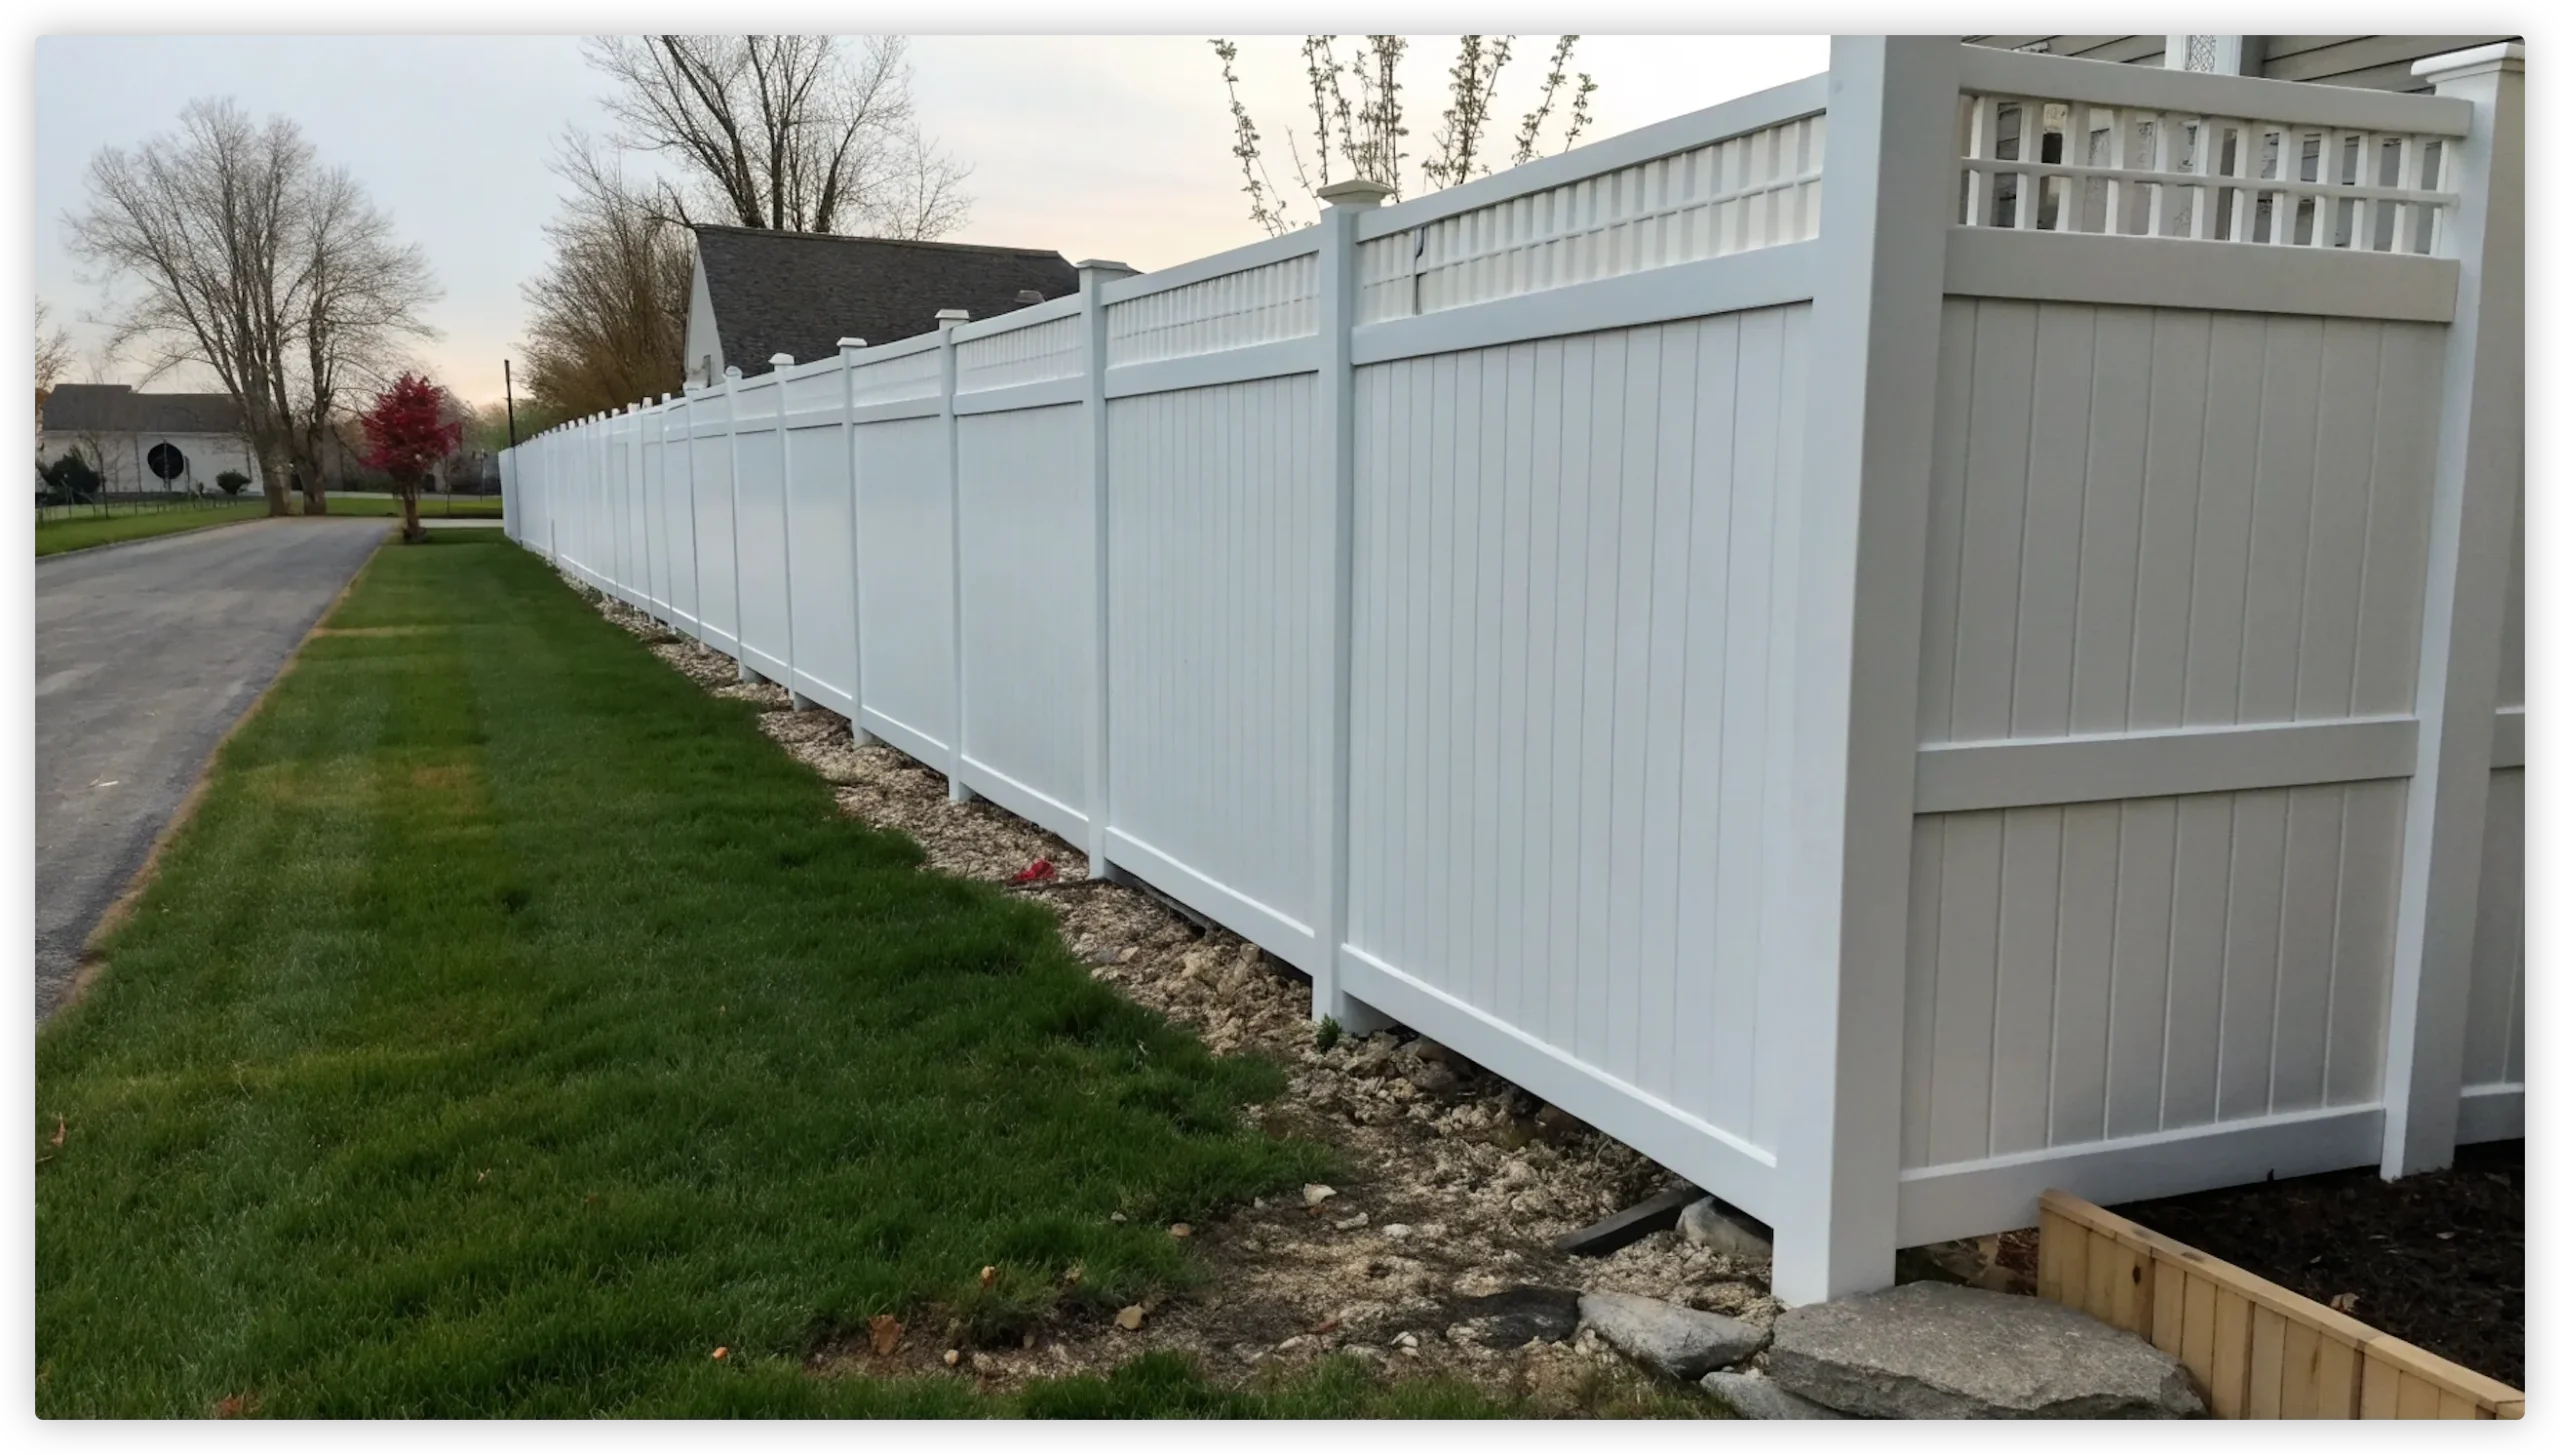
How to Fix a Leaning Vinyl Fence Post
A leaning vinyl fence post can be an eyesore and compromise the overall integrity of your fence. While vinyl fences are known for their durability, various factors can cause posts to lean, such as soil erosion, frost heaves, or impact damage. Fortunately, fixing a leaning post is often a manageable DIY project, especially with the right tools and steps. This guide will walk you through the process, offering clear instructions and tips to restore your fence to its original upright position.
Understanding Why Vinyl Fence Posts Lean
Before diving into the repair process, it’s crucial to understand why vinyl fence posts lean in the first place. Common reasons include:
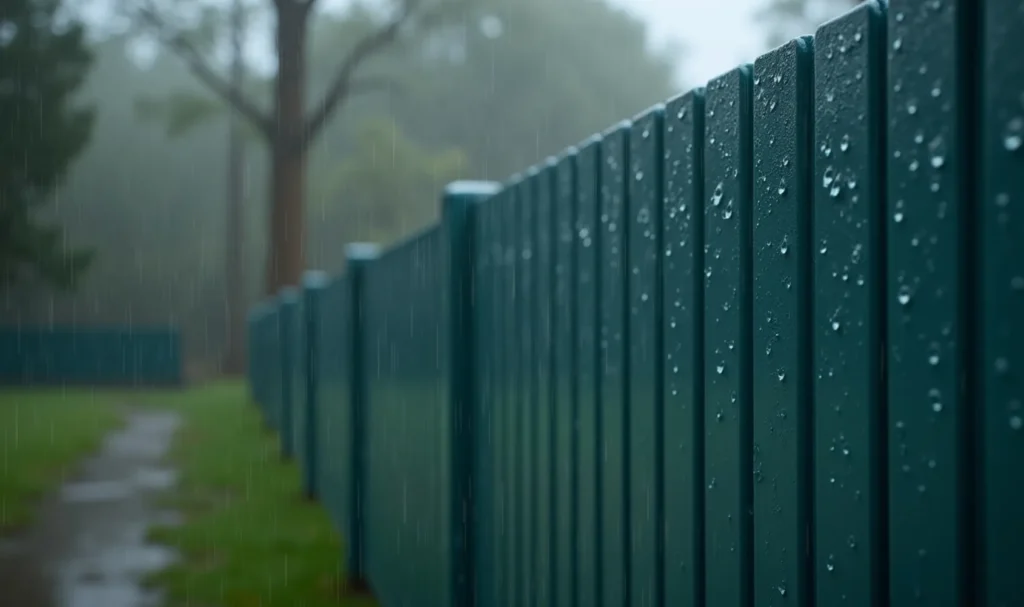
- Soil Erosion: Over time, rain and runoff can wash away the soil around the post, causing it to lose support.
- Frost Heaves: In colder climates, the freezing and thawing of the ground can push posts upward and outward, leading to leaning.
- Improper Installation: If the posts weren’t set deep enough or if the concrete footings weren’t properly constructed, the fence is more likely to lean.
- Impact Damage: Accidental impacts, such as from vehicles or lawn equipment, can cause a post to lean or even break.
- Weak Soil Conditions: Some soil types are less stable and can lead to leaning, especially when saturated with water.
Tools and Materials You’ll Need
Before you start, gather all necessary tools and materials. This will make the repair process smoother and more efficient. Here’s what you’ll need:
- Shovel or Post Hole Digger: For digging around the post.
- Level: To ensure the post is perfectly vertical.
- Wooden or Rubber Mallet: To gently adjust the post.
- Concrete Mix: For securing the post.
- Water: For mixing concrete.
- Wheelbarrow or Mixing Tub: For mixing concrete.
- Gravel or Crushed Stone: For drainage at the base of the post.
- Measuring Tape: To measure post depth and alignment.
- Safety Glasses: To protect your eyes.
- Work Gloves: To protect your hands.
- String Line: To ensure proper alignment between posts.
- Post Level: For accurate post leveling.
- Temporary Braces or Clamps (optional): To hold the post in place while the concrete sets.
Step-by-Step Guide to Fixing a Leaning Vinyl Fence Post
Here's a detailed, step-by-step guide on how to repair a leaning vinyl fence post, providing you with options for both minor and major leaning issues:
1. Assess the Damage
Before you begin, carefully assess the extent of the leaning. Is the post slightly tilted, or is it leaning severely? Also, check the post for any visible cracks or damage. If the post is severely cracked or broken, it might need to be replaced entirely.
2. Dig Around the Post
Use a shovel or post hole digger to carefully remove the soil around the base of the leaning post. Dig deep enough to expose the concrete footing, typically 6-12 inches below the surface. Clear all loose soil and debris away from the post to get a clean work area.
3. Freeing the Post
If the post is stuck in the soil or concrete, you may need to carefully pry it loose. Use a shovel or pry bar gently around the concrete footing, ensuring not to damage the vinyl post. In some cases, the post may need to be temporarily removed to properly repair the footing.
4. Correct Minor Leaning Without Removing the Post
If the leaning is minor, you might be able to correct it without removing the post. Carefully use a wooden or rubber mallet to gently tap the post back into a vertical position. Use a level frequently to check the post's alignment. Once it's close to vertical, you can fill the hole with gravel and concrete, as described in later steps.
5. Re-Set the Post (If Necessary)
If the post is leaning significantly or the concrete footing is damaged, you'll need to reset the post. Remove the post from the hole, and set it aside. If the existing concrete is damaged, you may need to remove as much of it as possible from the hole. You may need to break it up with a hammer or pry bar.
6. Prepare the Hole for Resetting the Post
If you removed the post, ensure the hole is clear of debris and loose soil. If necessary, dig the hole slightly larger for proper drainage. Add a layer of gravel or crushed stone at the bottom of the hole to improve drainage and provide a stable base. This is particularly important in areas with poor drainage or heavy clay soil.
7. Reinsert the Post
Place the vinyl post back into the hole. Make sure it’s centered and at the correct depth. Use the measuring tape to verify the depth against the adjacent posts. Now is the best time to verify your string line for post alignment.
8. Check the Post's Vertical Alignment
Use a level to verify that the post is perfectly vertical in all directions. A post level attached to the post can make this easier. Adjust the post as needed until it’s precisely aligned. If you are working alone, using temporary braces or clamps to secure the post in place can make this step easier.
9. Mix the Concrete
In a wheelbarrow or mixing tub, mix the concrete according to the manufacturer's instructions. Add water gradually until the concrete reaches a thick, workable consistency. Avoid making the concrete too runny, as this can weaken it.
10. Pour the Concrete
Carefully pour the concrete into the hole around the base of the post, filling it to the ground level. While filling, use the shovel to compact the concrete, ensuring it is thoroughly packed around the post. Be careful not to shift the post's position while pouring concrete.
11. Smooth the Concrete
Use your trowel or shovel to smooth the top surface of the concrete and create a gentle slope away from the post. This will help water runoff and prevent future erosion. Make sure the concrete is flush with the ground, or just below, to avoid creating a tripping hazard.
12. Let the Concrete Cure
Allow the concrete to cure completely, usually for at least 24-48 hours, before putting any stress on the post. Avoid leaning on or disturbing the post during the curing period. To avoid this, temporarily brace your post with 2x4's, securing one end to the post, and the other into the ground. Check the manufacturers directions for cure time.
13. Final Check
Once the concrete is fully cured, double-check the post to ensure it is still straight and stable. If the post feels solid and is no longer leaning, you’ve successfully fixed the problem. You may now reattach the vinyl panels that you detached from the post for easier access.
Troubleshooting Common Issues
While fixing a leaning vinyl fence post can be straightforward, you might encounter some common challenges. Here’s how to troubleshoot them:
- Post is Still Leaning: If the post continues to lean after repair, it might indicate a more significant problem, such as severely damaged concrete footing or unstable soil. Consider consulting with a professional for assistance.
- Post is Cracked or Broken: A cracked or broken post can't be repaired. You'll need to replace the post entirely. Follow the steps above for resetting the post after removing the damaged one.
- Difficulty Digging: If you’re struggling to dig around the post, use a hose to slightly moisten the soil. This will make it easier to work with. Be careful not to over saturate the soil.
- Concrete is Not Setting: If the concrete isn't setting properly, make sure you've followed the mixing instructions correctly and that the temperatures are above the freezing point, and within the concrete manufacturers guidelines.
| Problem | Possible Cause | Solution |
|---|---|---|
| Post Still Leans After Repair | Severely Damaged Footing, Unstable Soil | Consult a Professional, Evaluate Soil, Improve Drainage |
| Cracked or Broken Post | Impact Damage, Material Fatigue | Replace the Post Entirely |
| Difficulty Digging | Hard, Dry Soil | Moisten Soil Slightly, Use a Stronger Shovel |
| Concrete Not Setting | Incorrect Mix, Freezing Temperatures | Follow Mixing Instructions, Check Temperatures |
Preventative Measures for the Future
While fixing a leaning post is a necessary repair, taking preventative measures can reduce the likelihood of future issues. Here are some ways to avoid leaning posts in the future:
- Proper Installation: Ensure that the posts are set at the appropriate depth during installation. Follow local building codes for post hole depth.
- Drainage: Ensure proper drainage around the posts to prevent soil erosion. Use gravel at the base of the posts to encourage water flow.
- Regular Inspection: Regularly inspect the fence for any signs of leaning or damage and address them promptly.
- Avoid Impact: Be careful not to hit fence posts with lawn equipment or vehicles.
- Soil Stabilization: Stabilize the soil near the fence to reduce the likelihood of erosion. This can be done through proper landscaping, mulching, and/or retaining walls.
When to Call a Professional
While many leaning post issues can be handled with DIY, sometimes calling in a professional is the best option. Consider seeking professional help if:
- You are unsure about the repair process.
- The fence is severely damaged.
- You lack the necessary tools and equipment.
- You're unable to diagnose the problem.
- The problem is recurring.
Q&A Section
Here are some frequently asked questions about fixing a leaning vinyl fence post:
Q: Can I use regular concrete for my fence post?
A: Yes, you can use regular concrete mix, but ensure it is suitable for exterior use. Follow the manufacturer's instructions for mixing.
Q: How deep should my fence posts be set?
A: The depth of the post will vary with local codes and soil conditions, but a good rule of thumb is to bury the post at least 1/3 of its height.
Q: Do I need to remove the vinyl paneling to fix a leaning post?
A: It's generally recommended to remove the paneling attached to the leaning post, if possible. This will make the repair easier, and prevent damage to the panels during repair.
Q: How often should I inspect my fence for leaning posts?
A: It's a good idea to inspect your fence at least twice a year, especially after harsh weather conditions.
Q: What can I do if my soil is constantly shifting?
A: If you have unstable soil, you may need to consider soil stabilization methods, such as using landscape fabrics, building a retaining wall, or consulting a landscaping professional. Drainage solutions can also help to minimize shifting.
Conclusion
Fixing a leaning vinyl fence post can seem daunting, but with the right tools and approach, it's often a manageable task. By following the steps outlined in this guide, you can restore your fence to its upright position and protect your investment. Remember, taking preventative measures can also save you from future repairs. If you are not comfortable with DIY, or the problem seems too challenging, remember that there are professionals that are there to help!